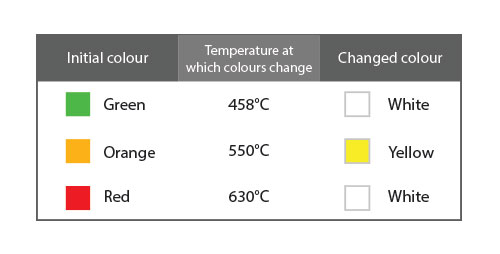
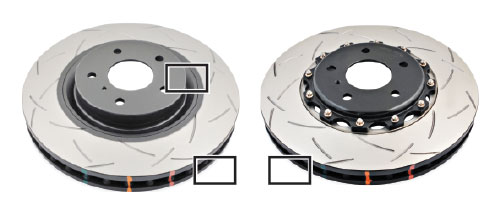
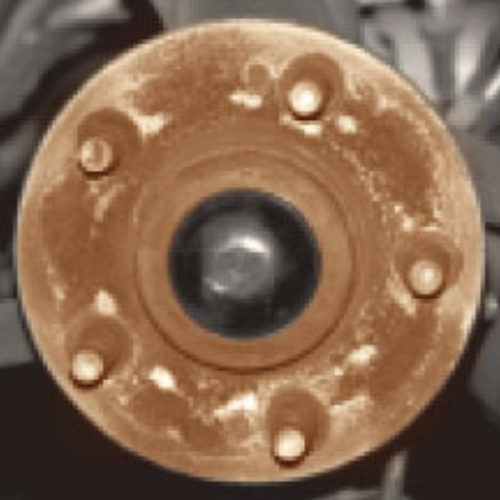
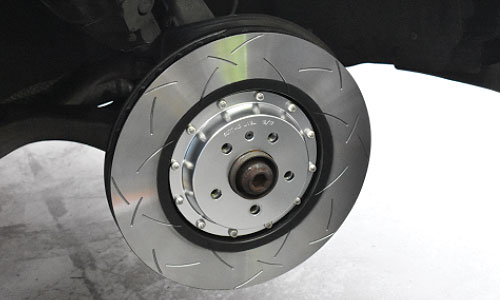
This brake rotor has three heat sensitive coloured markings.
These markings allow you to monitor the temperature that the disc rotors have experienced and help indicate the efficient and their recommended working temperatures.
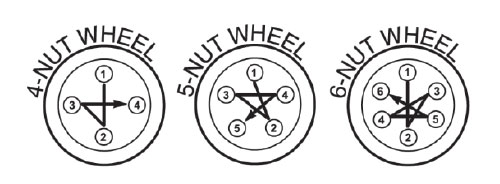
Tightening wheel nuts.
Tighten wheel nuts in a criss-cross sequence shown in the diagram by hand and check with a torque wrench. Failure to tighten nuts in a criss-cross sequence can cause uneven clamping of the rotor.
Ensure all nuts are tightened to the torque recommended by the vehicle manufacturer.
Aftermarket wheels may require different wheel nut tightening torques. If in doubt seek advice from manufacturer or supplier.
ATTENTION
Before fitting disc rotor, moisten cloth rst with brake cleaner and wipe clean the face of the disc surfaces where the disc pads rub.
DO NOT WIPE OR SPRAY THE PAINTED AREA WITH CLEANER AS THIS WILL REMOVE THE PAINT.
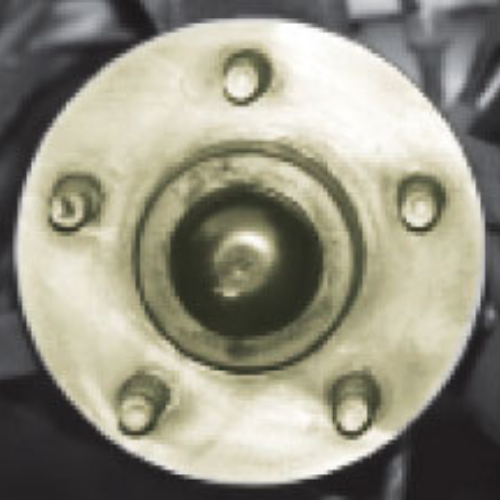
Important Fitment Information for Hat type rotors.
Check that the wear tolerance in the hub bearings is within the manufacturer’s tolerance.
Clear rotor to hub mounting surfaces thoroughly with a wire brush and emery paper to remove all rust scale and debris.
Check rotor to hub mounting surfaces for damage, burrs and/or distortion. Repair or replace if necessary.
Failure to have a clean and smooth hub/rotor mounting surface(s) can result in the rotor being mounted with excessive runout.
The installed runout of the rotor must not exceed 0.05mm. Excessive runout will result in DTV (Disc Thickness Variation) being worn into the rotor within as little as 1000 – 2000kms.
DTV will cause pedal pulsation, steering shudder or vibration during braking
Rotor Preparation Guide
How to clean a disc rotor before fitting
Cleaning a disc rotor correctly will often eliminate any issues with squeal, runout (DTV) and pad contamination. Most disc rotors have a protective coating applied post production to avoid any corrosion during storage.
It’s a simple process that can be done in less than a minute.
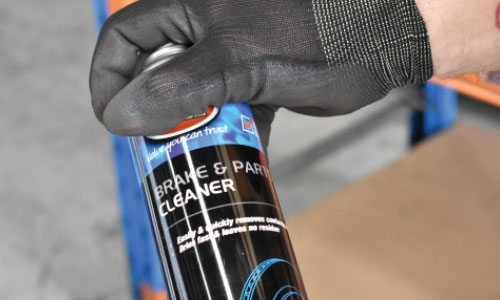
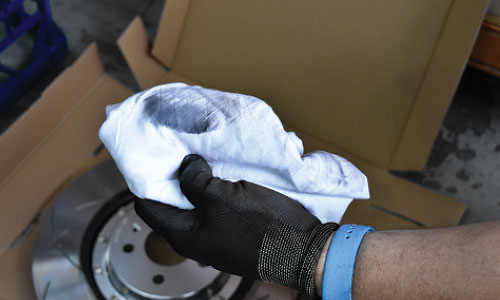
1. Use a suitable brake parts cleaner
Please Note: Carburettor cleaner and brake cleaner products are not the same. “Carby” cleaner is intended to leave a lubricating residue whereas brake clean will leave a dry surface
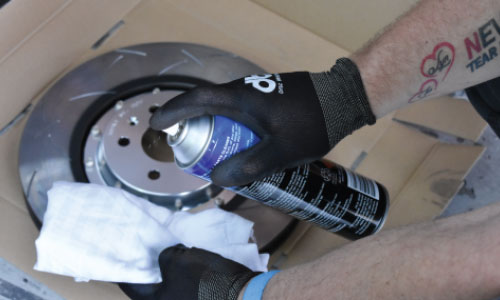
2. Apply the brake part cleaner to a clean cloth or paper towel
Applying directly onto the disc rotor can damage any paint coating intended to protect the rotor from corrosion.
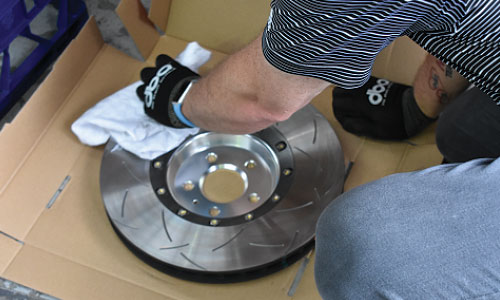
3. Wipe in a circular motion around the friction ring surface
4. Re-apply and clean until little or no dirt transfers onto the cloth
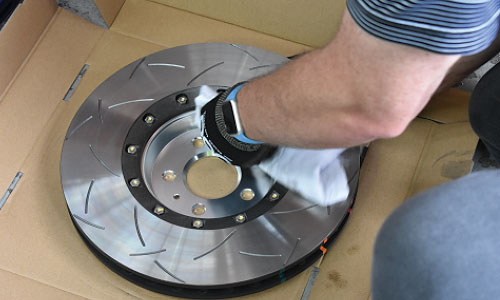
5. Flip the rotor over and clean the inner face
6. Clean the mounting face
7. Check the hub/axle for any burrs or damage before mounting the rotor
Brake Pad Bed-in Guide
DBA recommends that Brake Pads should only fitted by a qualified technician
DBA’s Performance Brake Pads are scorched to OE standards. This process reduces the complexity of the bed-in process, ensuring maximum brake pad and disc rotor performance
DBA Recommends that all brake fitments should be road tested to ensure correct functionality following any brake component replacement
During the bedding-in process, the driver should test that the vehicle is stopping as expected under normal driving conditions
As DBA’s Performance Brake Pads have been scorched, they will displace an effective stop after only 5-10 stops from 50km/h (30mph) to 10km/h (5mph) using moderate pedal effort
For optimal performance, once the effectiveness has been established it is recommended that the vehicle is driven normally and any intentionally aggressive braking is avoided for the first 200 kilometres (100 miles) if possible
It is also advised to avoid dragging the brakes during this time as this can cause excessive heat build-up and glazing which may lead to other noise/effectiveness issues as a result